In this blog I will show you how to convert .UNV file created in Universe Design Tool to .UNX file in the Information Design Tool.
Open the Information Design Tool. Go to file and select Convert .UNV Universe as shown below.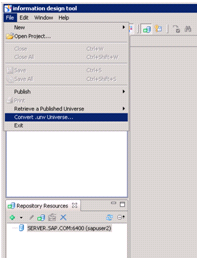
In the next screen you will have the option to select the .UNV universe file from the local file system or from the Repository.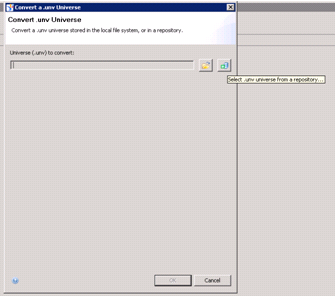
Click on the folder icon if your UNV file is in you local system.
If your UNV file is on reporsitory click on reporsitory icon. Once you click on the repository icon, a popup comeup. Enter th e username and password.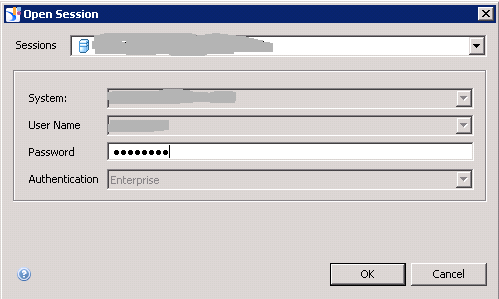
Click OK. In the next screen you will have a popup, where you need to select the .UNV file for the conversion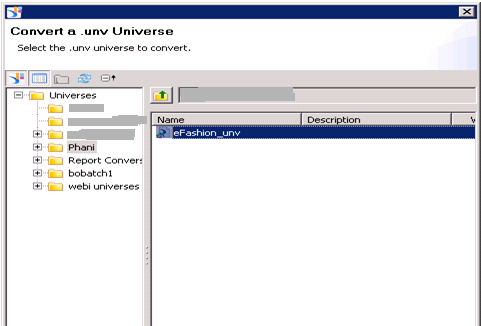
In the next screen select the Destination Repository Folder and Destination Local Project Folder.
To select the Destination Repository Folder select the browser button to select the destination folder and Click OK
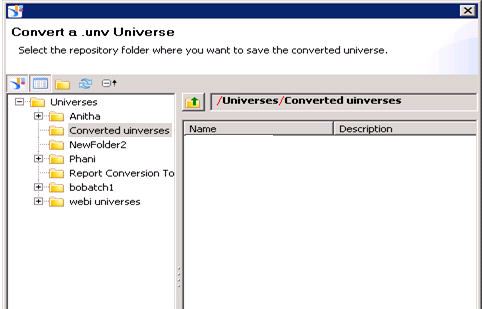
Now select the Destination Local Project Folder browse botton to select the local project .
click OK. Now select teh two check boxes.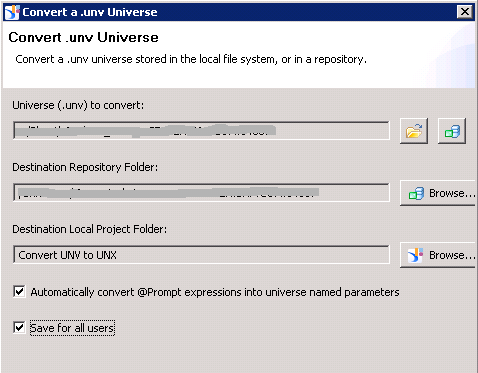
click OK. In the next screen you will see the popup which says Universe published successfully.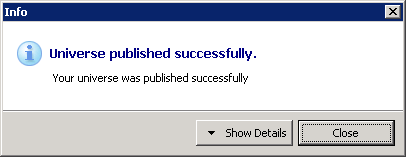
Click close. Now you can see the converted UNX file in the local project you selected.
The converted project will have Connection Layer, Data Federator Layer, and Business Layer.
Open the Information Design Tool. Go to file and select Convert .UNV Universe as shown below.
In the next screen you will have the option to select the .UNV universe file from the local file system or from the Repository.
Click on the folder icon if your UNV file is in you local system.
If your UNV file is on reporsitory click on reporsitory icon. Once you click on the repository icon, a popup comeup. Enter th e username and password.
Click OK. In the next screen you will have a popup, where you need to select the .UNV file for the conversion
In the next screen select the Destination Repository Folder and Destination Local Project Folder.
To select the Destination Repository Folder select the browser button to select the destination folder and Click OK
Now select the Destination Local Project Folder browse botton to select the local project .
click OK. Now select teh two check boxes.
click OK. In the next screen you will see the popup which says Universe published successfully.
Click close. Now you can see the converted UNX file in the local project you selected.
The converted project will have Connection Layer, Data Federator Layer, and Business Layer.
No comments:
Post a Comment